Signing in
What you do the first time you pick up the till: sign in, make sure you are on the right store, and set the language.
Sign in
- Open NexPOS Merchant. If nobody is signed in you land on the sign-in screen.
- Type the store account in Email and Password.
- Tap Sign in. The main screen opens — check the store name at the top left before you start selling.
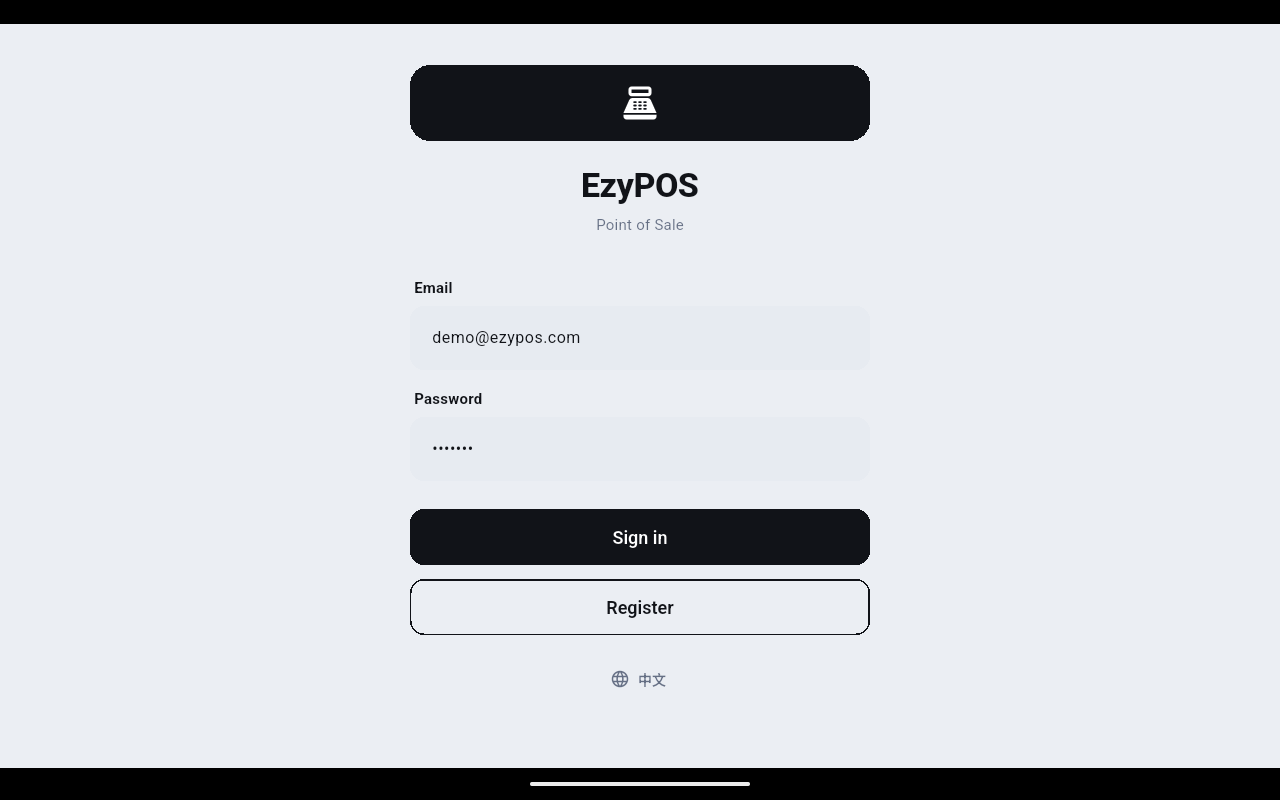
You only see this screen after someone has signed out or the app says the session has expired.
Check you are on the right store
The store name sits at the top left of the register. If the account covers more than one store, a small arrow appears next to it.
- Tap the store name. A Switch store sheet lists every store on the account; the one you are on is marked Current.
- Tap the store you want. A message confirms the switch and the product grid reloads with that store's products.
Switching store empties the cart and drops any member, discount or table you had attached. Finish or hold the sale before you switch.