Signing in to the back office
How an owner or a store manager opens the NexPOS back office, and how the screen is laid out once you are in.
Sign in
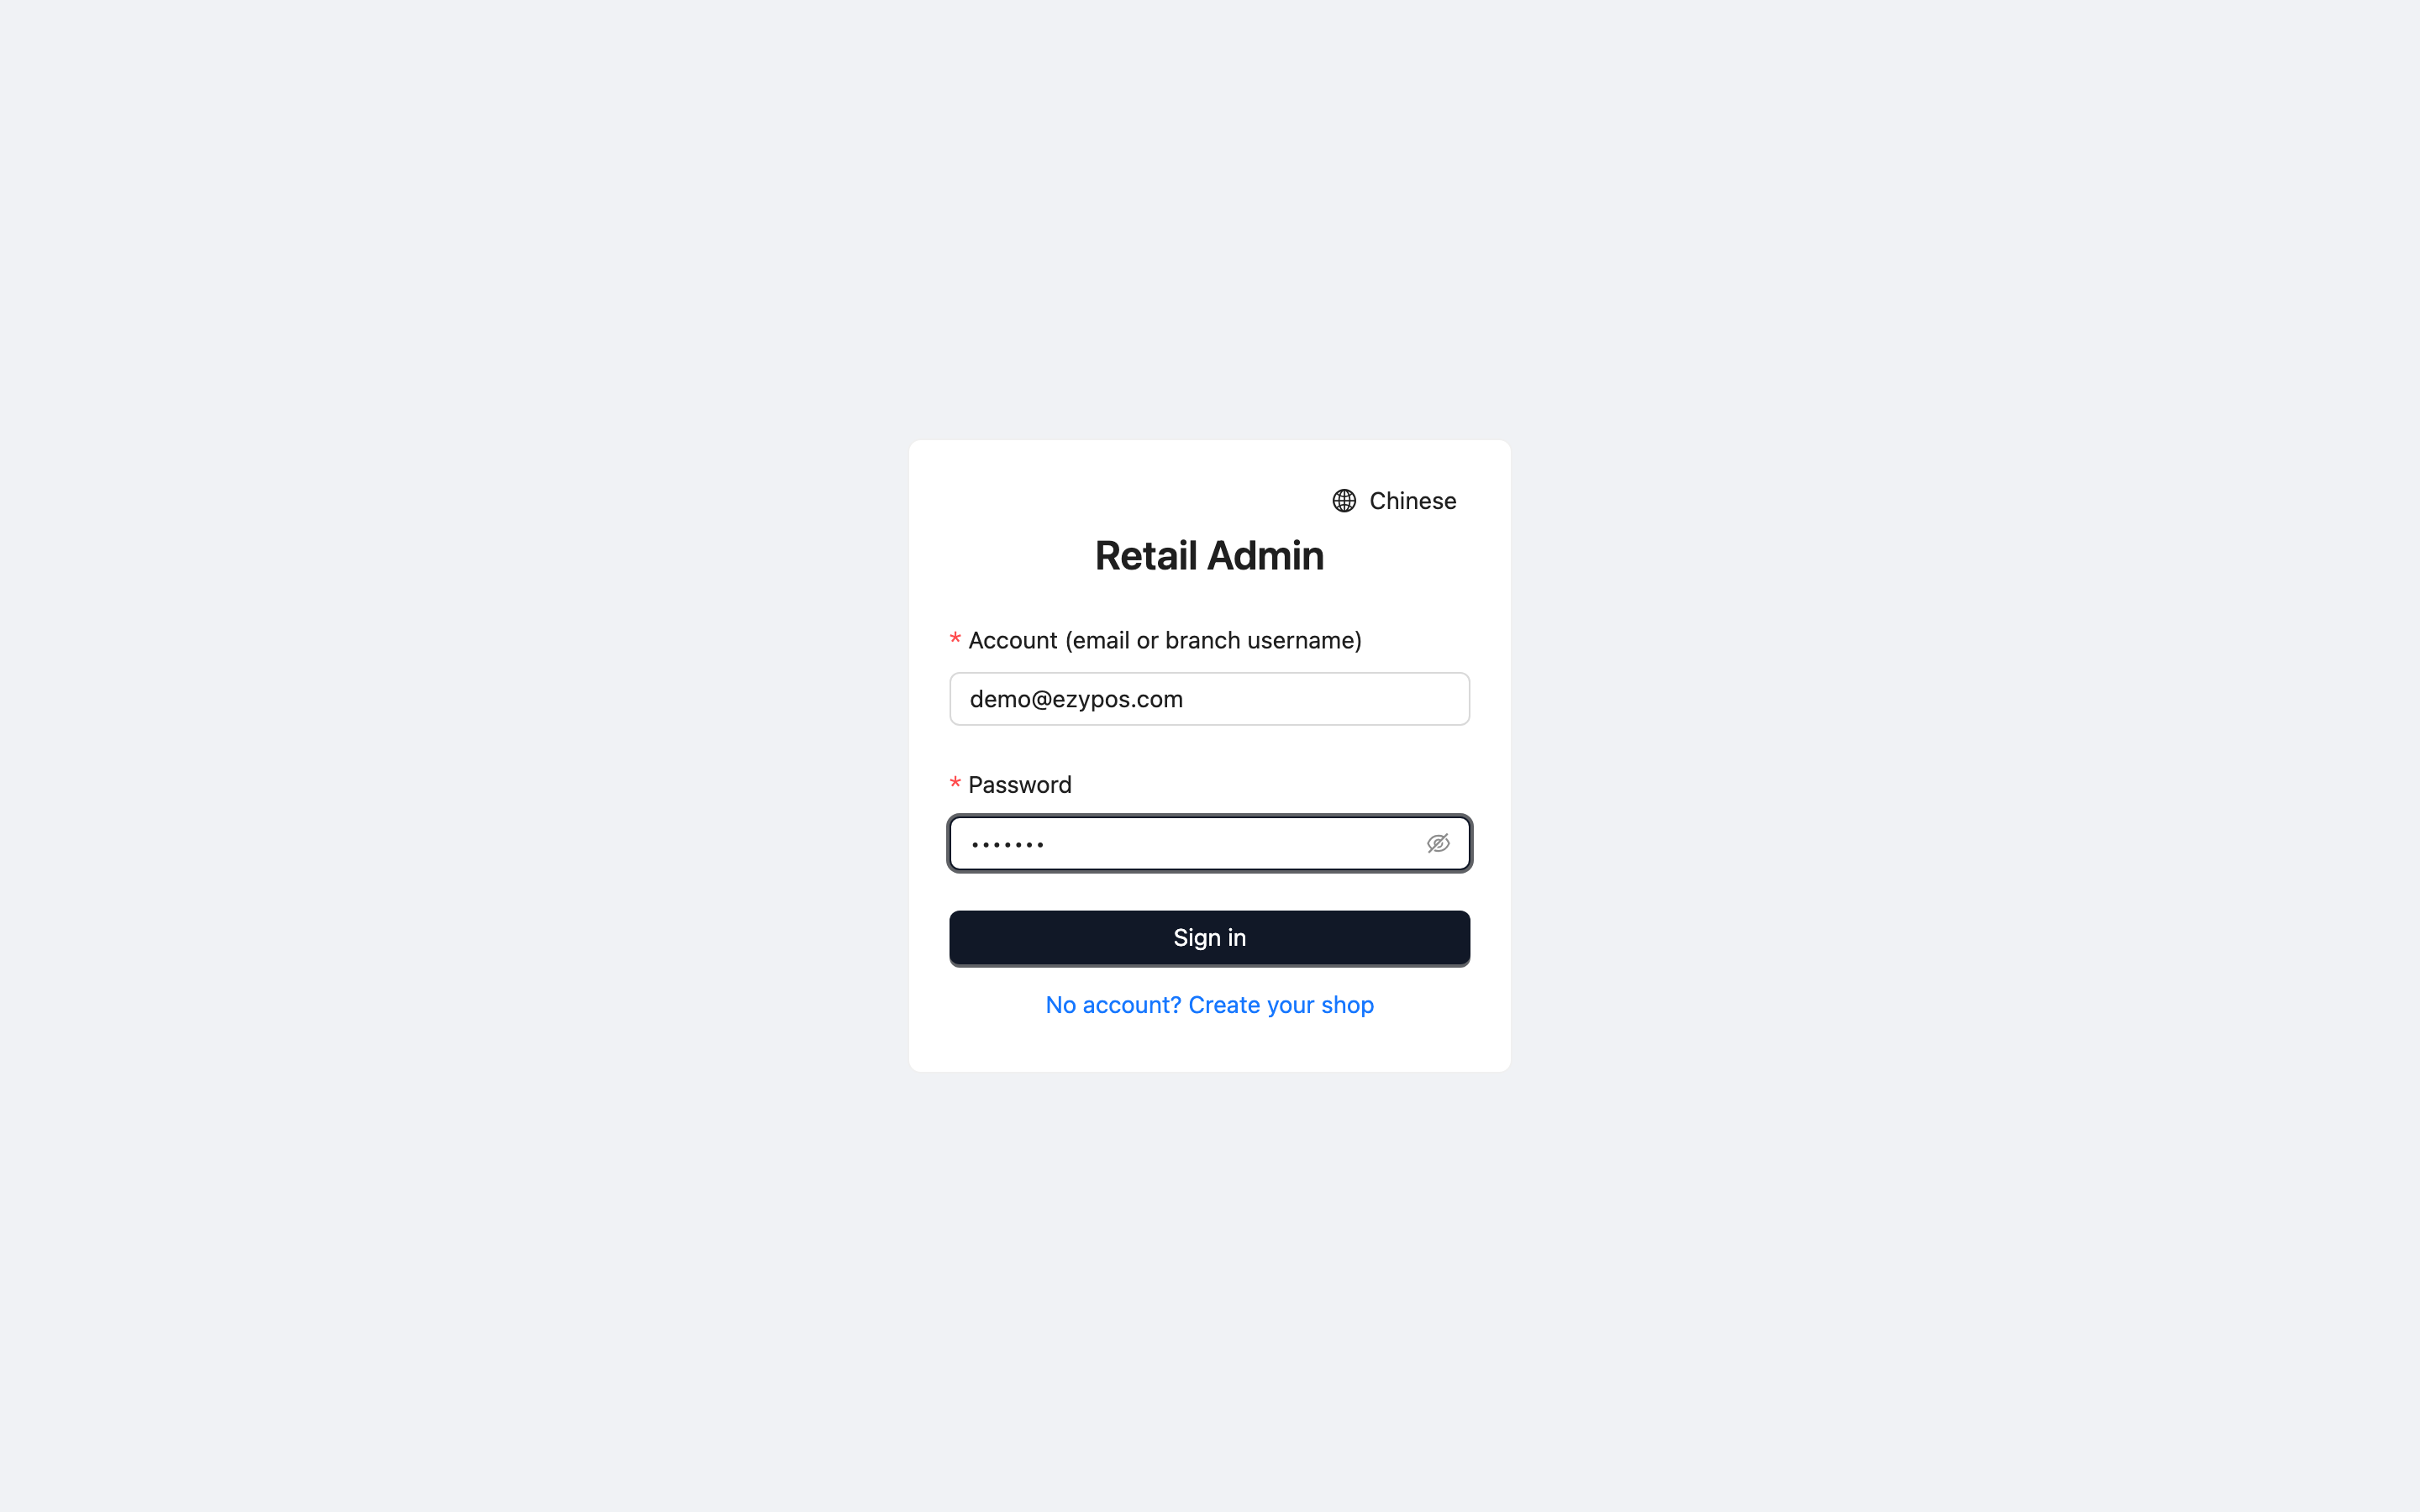
- Open the back office address your installer gave you. The Retail Admin sign-in card appears.
- Type your account into Account (email or branch username). Owners use their email address; a manager who was given a branch login types the branch username instead.
- Type your Password. The eye icon at the right of the field reveals what you typed.
- Click Sign in. You land on the Dashboard.
Find your way around
The dark sidebar holds every page, split into three groups that tell you how far each page reaches:
| Group | Pages | What the data covers |
|---|---|---|
| Cross-store | Dashboard, Reports, Products, Inventory, Orders | Every branch at once. Each page has its own branch filter with an All shops option. |
| Branch-specific | Store details, Tables & Area, Discounts/Surcharges, Local Offers | One branch only — the branch named in the small picker beside the page title. |
| Merchant-wide | Categories, Coupons, Members, Member groups, Branches, Accounting, System settings | Shared by the whole business; there is no branch concept on these pages. |
The top bar shows Merchant back office, a language button and Sign out. Click Chinese to switch the interface to Chinese; the button then reads English to switch back.
An owner account sees every branch and can move between them. A branch login is tied to one branch — the back office tells you so where you create it: that account "logs straight into this branch (POS app + web admin), and only sees this branch".