Local Offers
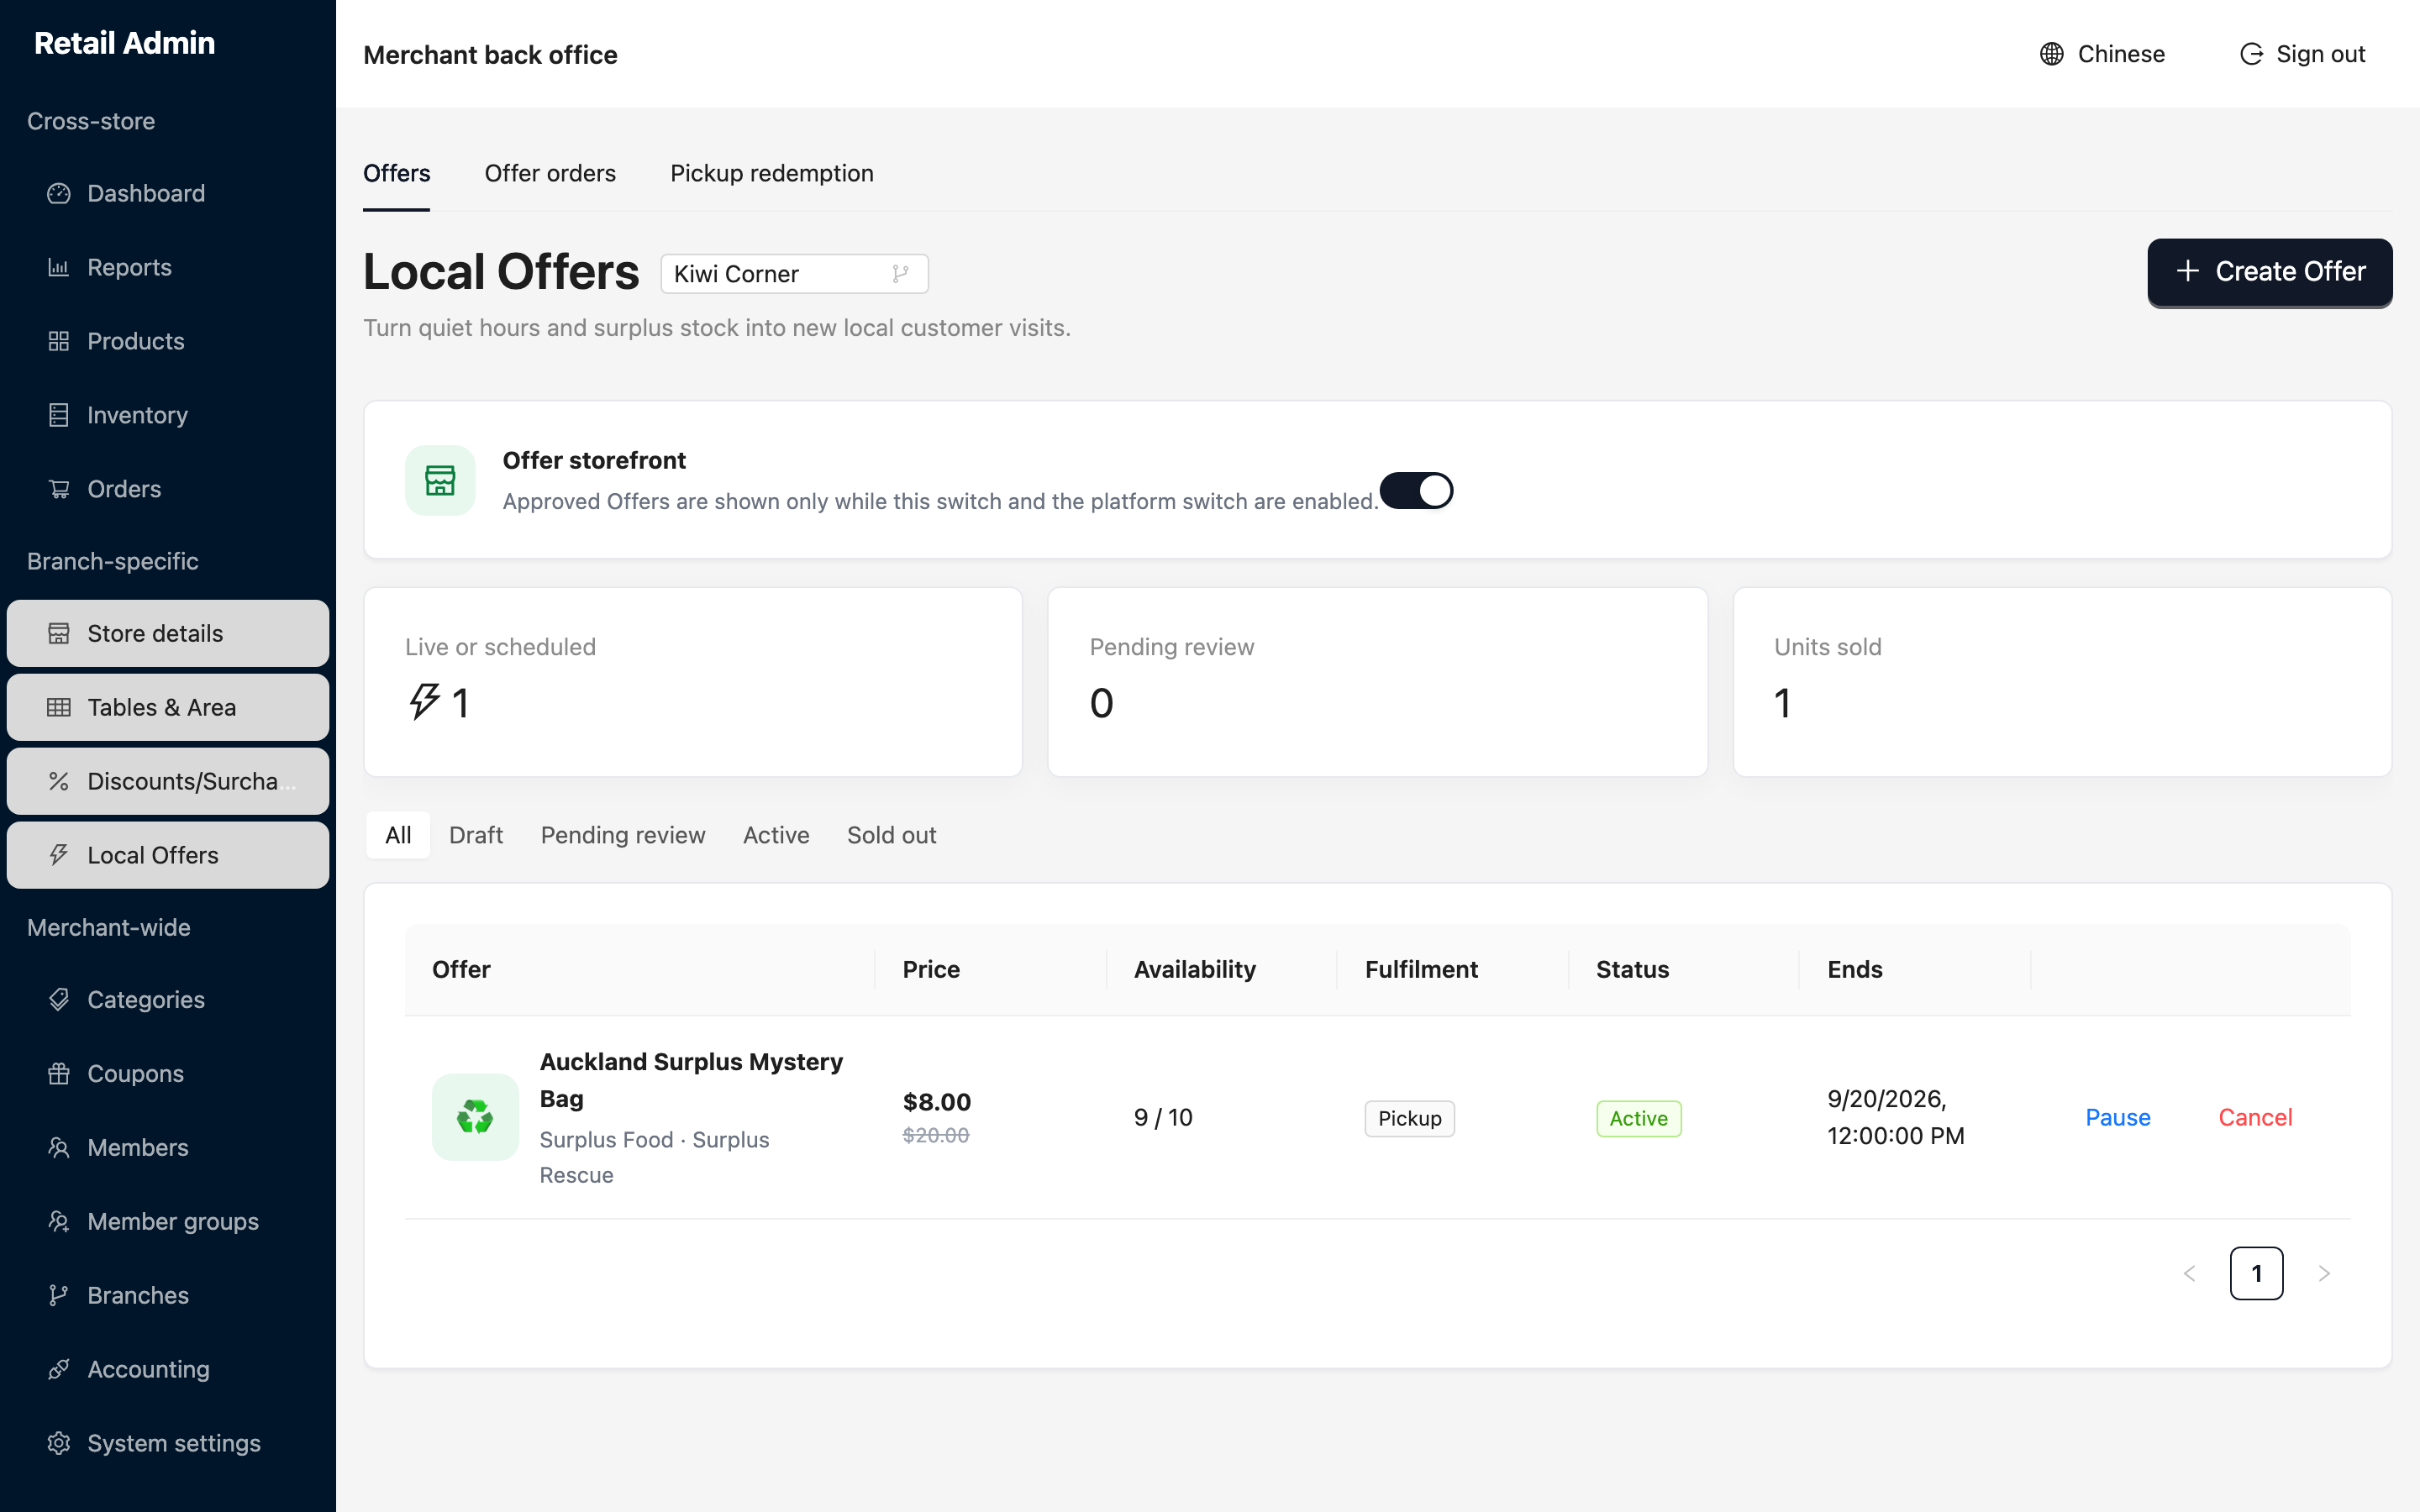
Per-branch task. Offers put surplus stock or a quiet-hours deal in front of nearby customers. They go through platform review before they appear.
Publish an Offer
- Click Local Offers and check the branch in the picker beside the title.
- Make sure Offer storefront is switched on — approved Offers only show while this switch and the platform's own switch are both on.
- Click Create Offer and choose a mode: Flash Deal for a short urgent deal, or Surplus Rescue for unsold food or stock. Off-Peak Deal is greyed out and labelled as coming later.
- Under What customers will see, fill in the Offer title, Item name, Marketplace category, Offer format, and optionally a Short description, Cover image URL and a Linked POS product.
- Under Price and availability, set the Usual price and Offer price, the Available quantity, the Limit per customer and the booking and pickup windows.
- Under Fulfilment and customer guidance, tick Customer pickup and/or Courier delivery, and add pickup instructions, allergen information and terms.
- Click Save draft to keep working on it, or Save and submit for review to send it to the platform.
Fulfil what sells
- Open the Offer orders tab to see each Offer order with its fulfilment, total, payment state, order status and Redemption state.
- When a customer arrives to collect, open the Pickup redemption tab, scan their QR token or type the six-digit code, and click Verify.
- Check the Offer and the order shown before you confirm and hand the goods over.