Device modes
Turning a device into an unattended self-order kiosk or a queue-number station, set up under General settings → Mode change.
Mode change
Tap ⋮ → General settings → Mode change. This is where a device stops being a staffed till and becomes an unattended station.
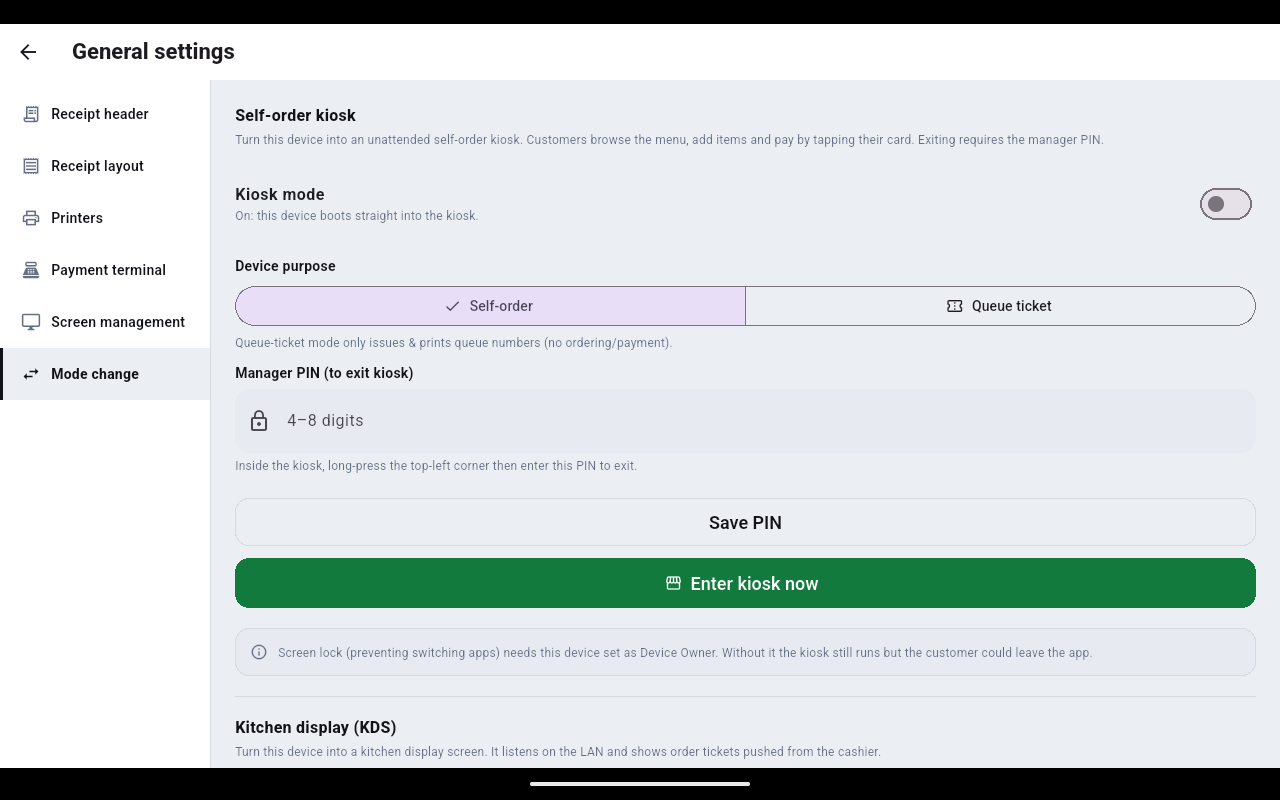
- Kiosk mode — when on, this device boots straight into the kiosk.
- Device purpose — Self-order (customers order and pay) or Queue ticket (numbers only, no ordering or payment).
- Manager PIN — 4–8 digits, required before you can enter a mode, and what you enter to leave it.
Self-order kiosk
- Set Device purpose to Self-order.
- Type a 4–8 digit PIN into Manager PIN and tap Save PIN.
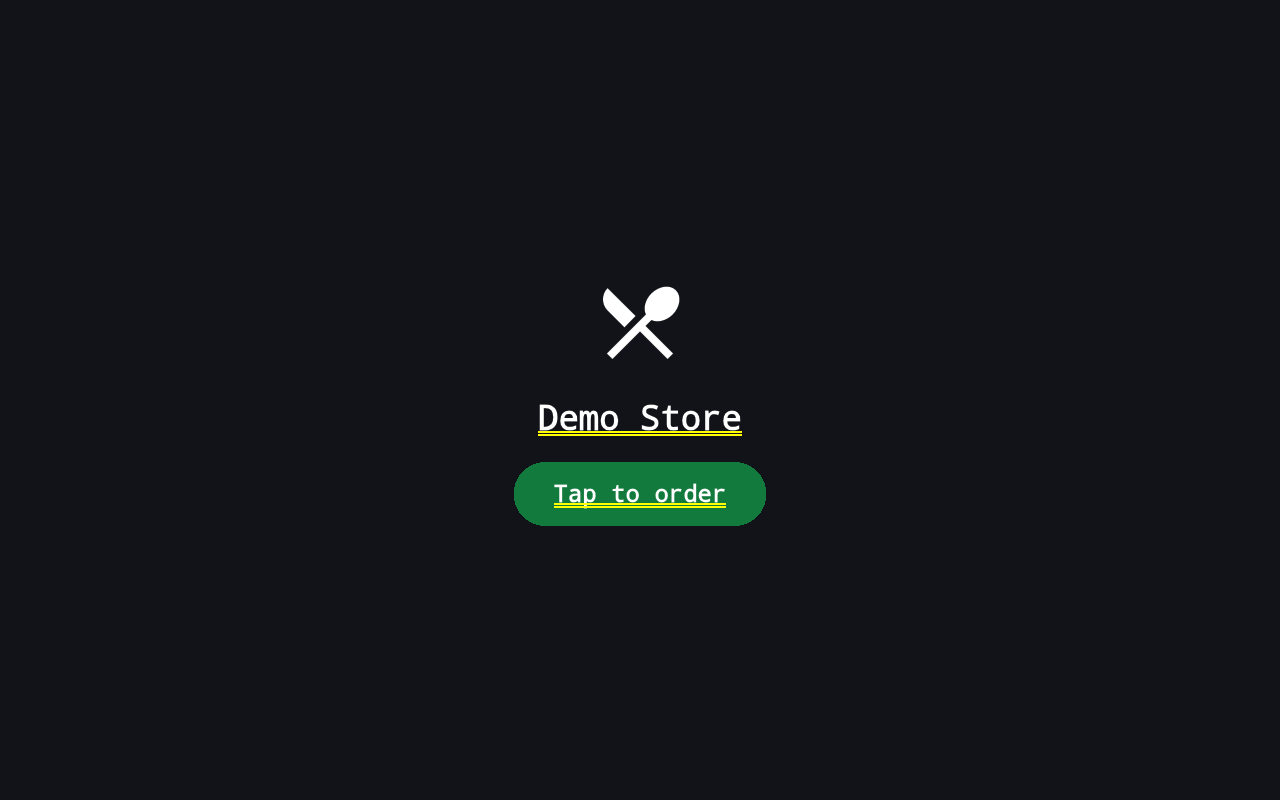
- Tap Enter kiosk now. The device goes full screen and shows the store's start screen with a Tap to order button.
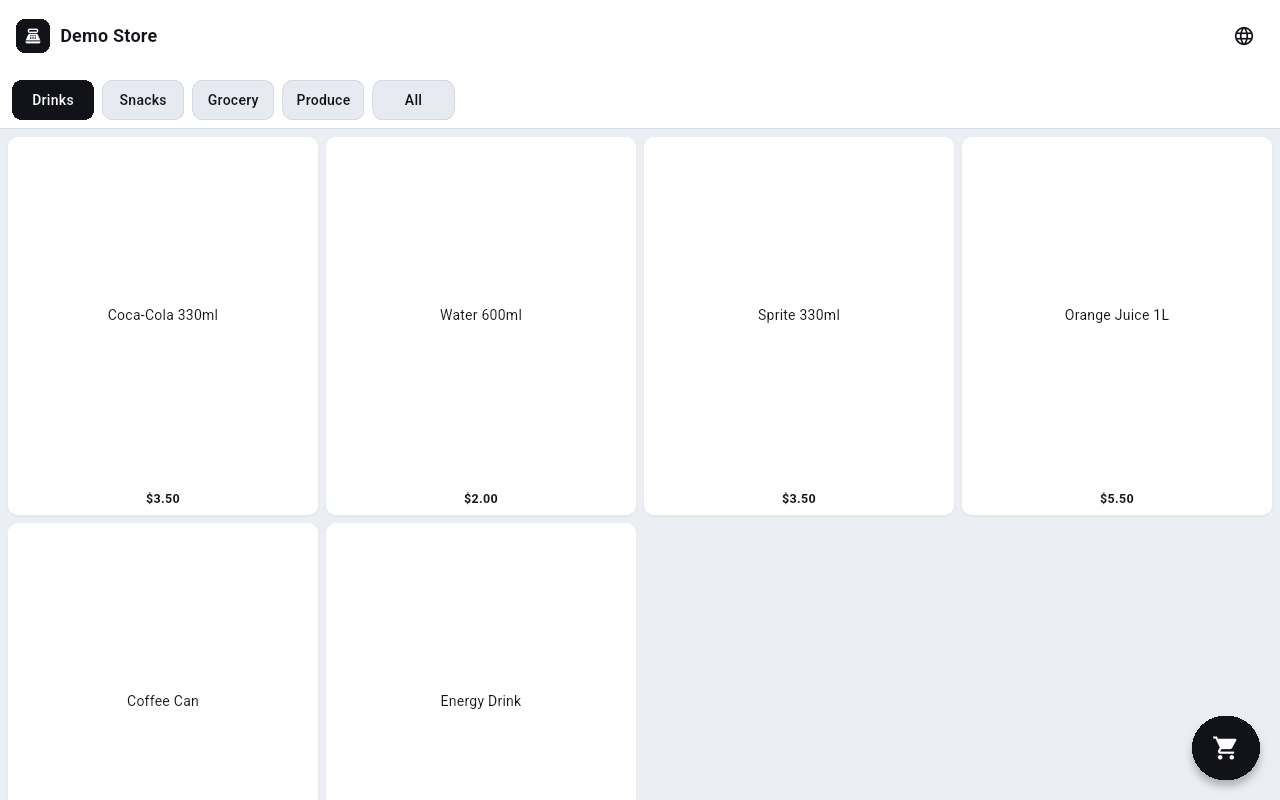
The customer taps Tap to order and gets the same products and prices as the counter, laid out full screen with a cart button. They add items, check out and pay by card on the device — there are no cashier controls.
Leaving the kiosk
- Press and hold the top-left corner of the screen.
- Exit kiosk mode appears. Enter the manager PIN and tap Exit. The device returns to the normal register.
Stopping a customer from leaving the kiosk app needs the device set as Device Owner. Without that the kiosk still runs, but the customer could switch away from it.
Queue-ticket station
- Under Mode change, set Device purpose to Queue ticket, save a manager PIN, and tap Enter kiosk now.
- The device shows Take a queue number with a How many people? stepper.
- The customer sets their party size and taps Get number.
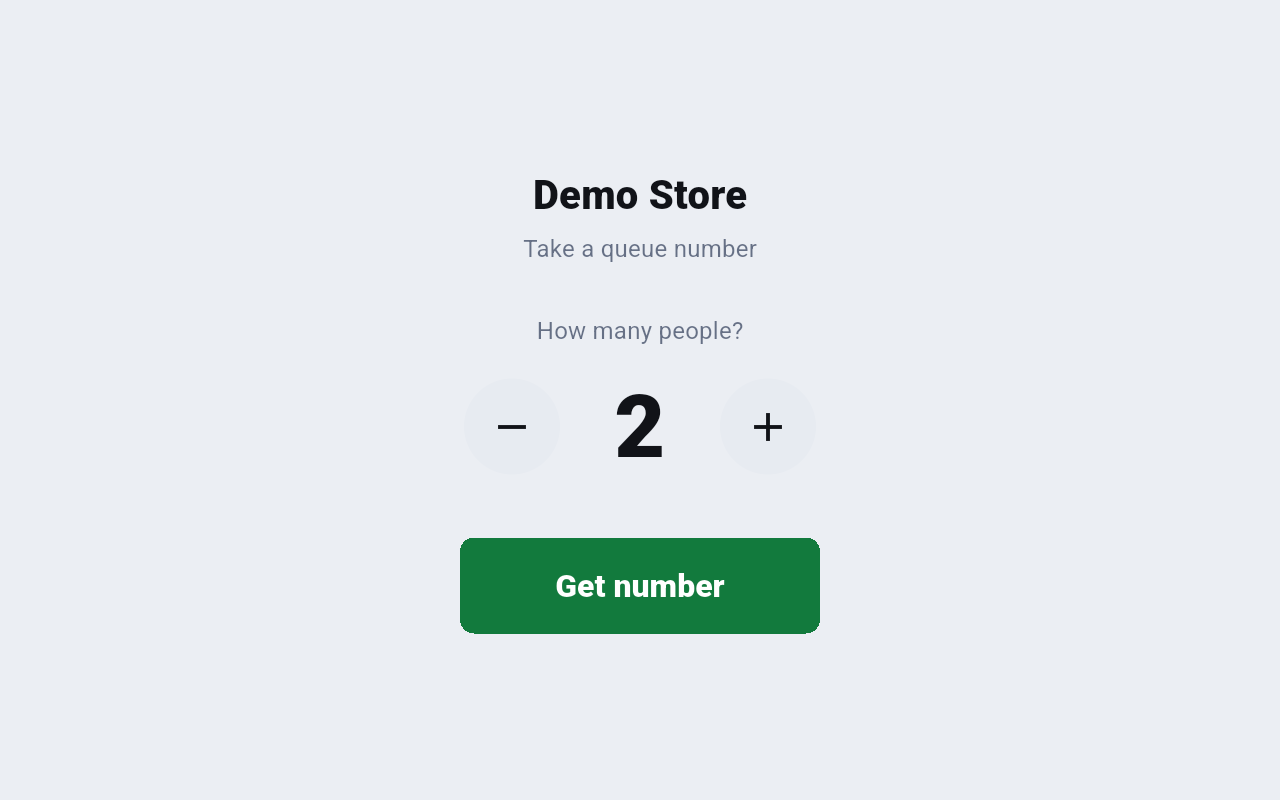
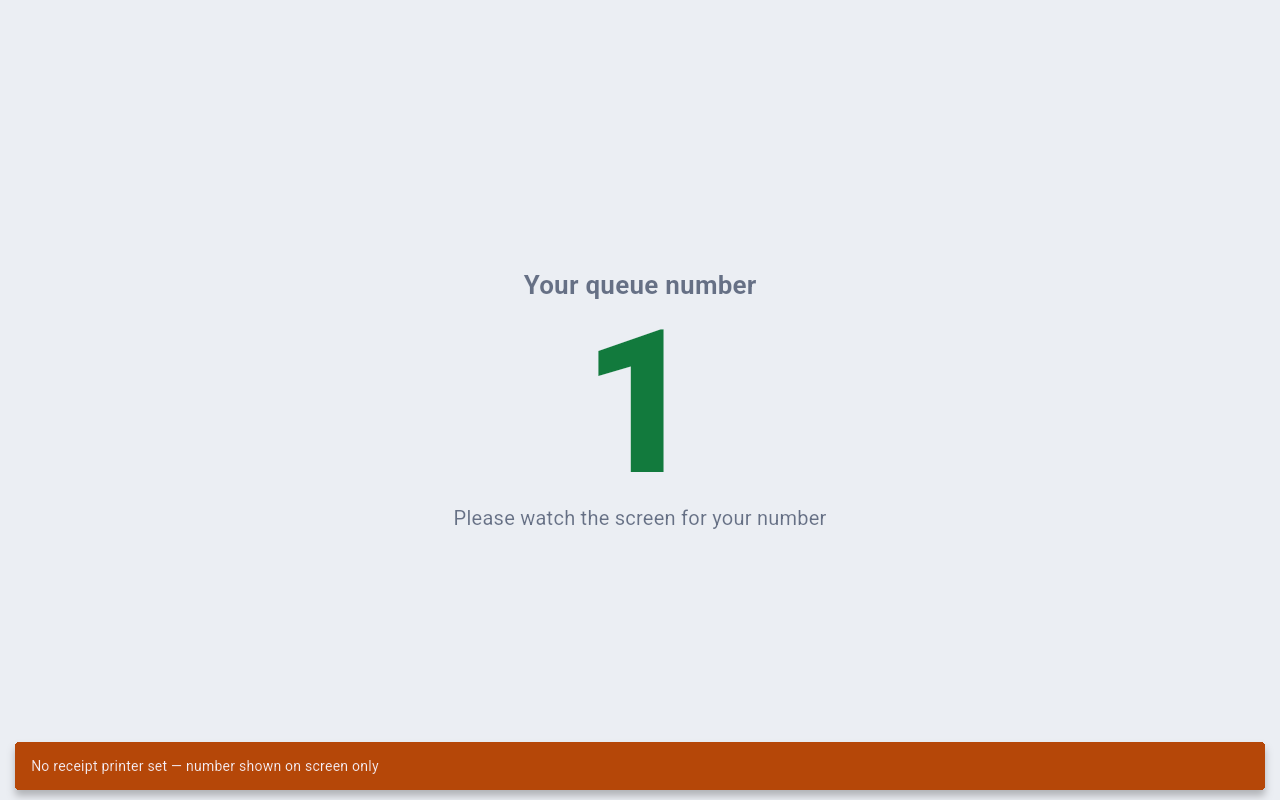
The number is shown large on screen, and printed if a printer is set. With no printer the device shows No receipt printer set — number shown on screen only. Leave the station with the same long-press top-left corner and manager PIN.
Kitchen display
- On the spare device, tap ⋮ → KDS display mode. The screen goes dark and shows Kitchen Display (KDS) with Waiting for orders….
- A green strip at the top reads Listening followed by this device's address and port.
- On the till, add that address and port under ⋮ → General settings → Screen management → Add screen, then route the categories that should appear on it.
A device left in KDS display mode is not a till — tap the back arrow at the top left to return to the register.